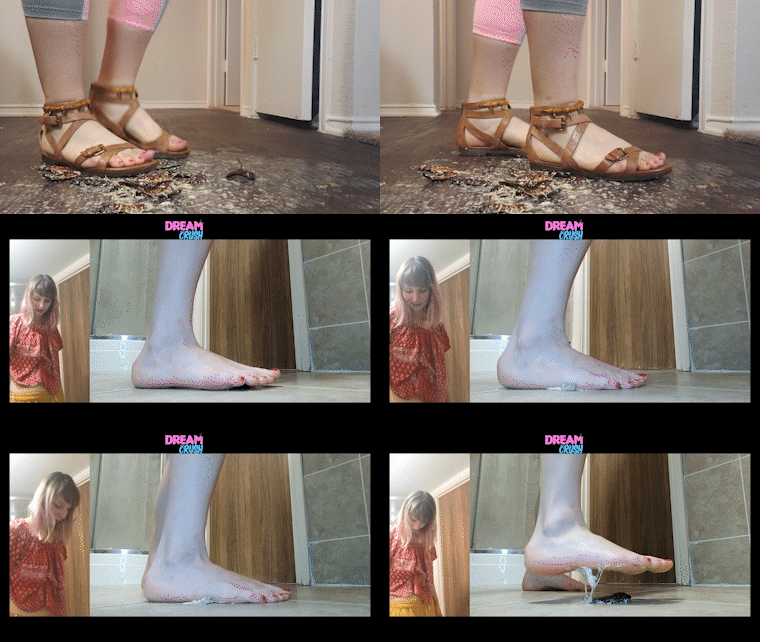
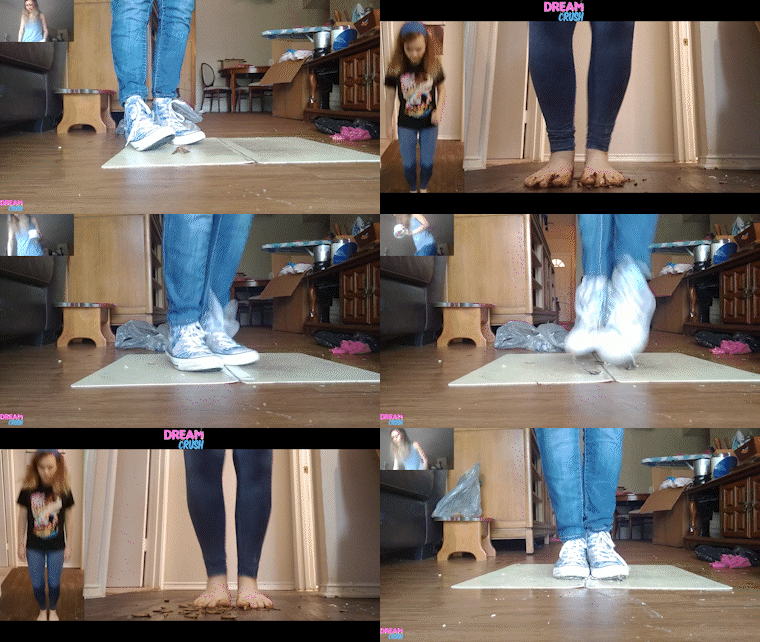
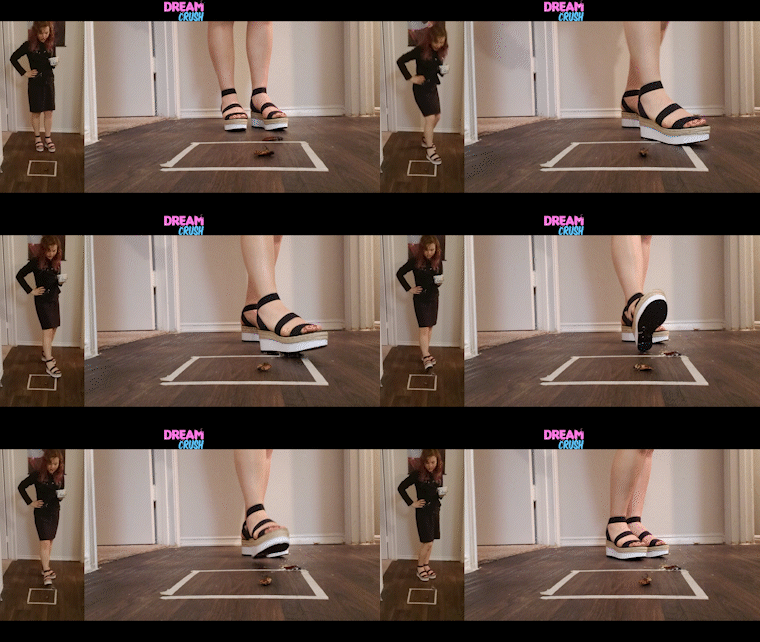
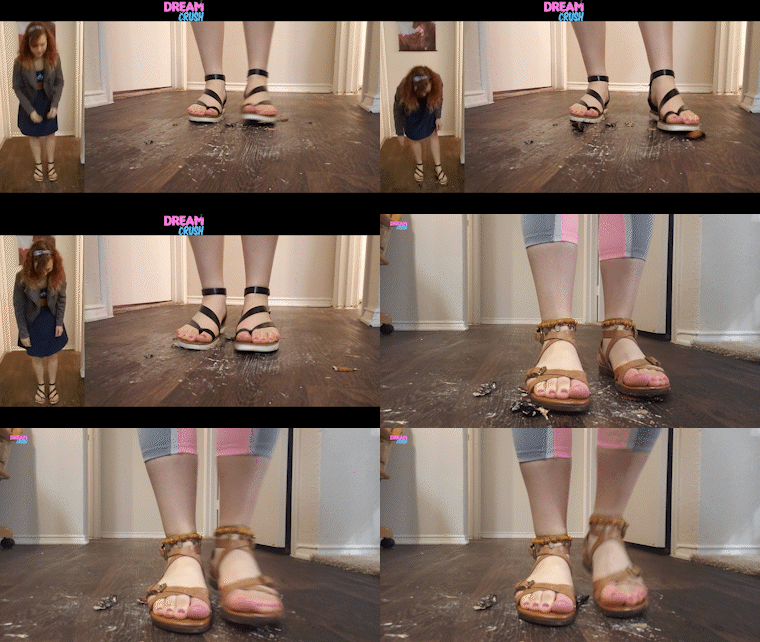
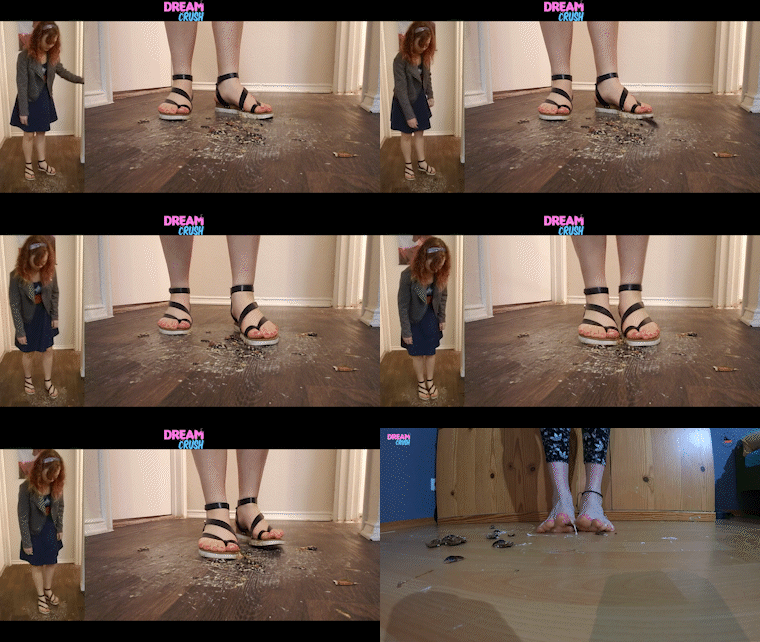
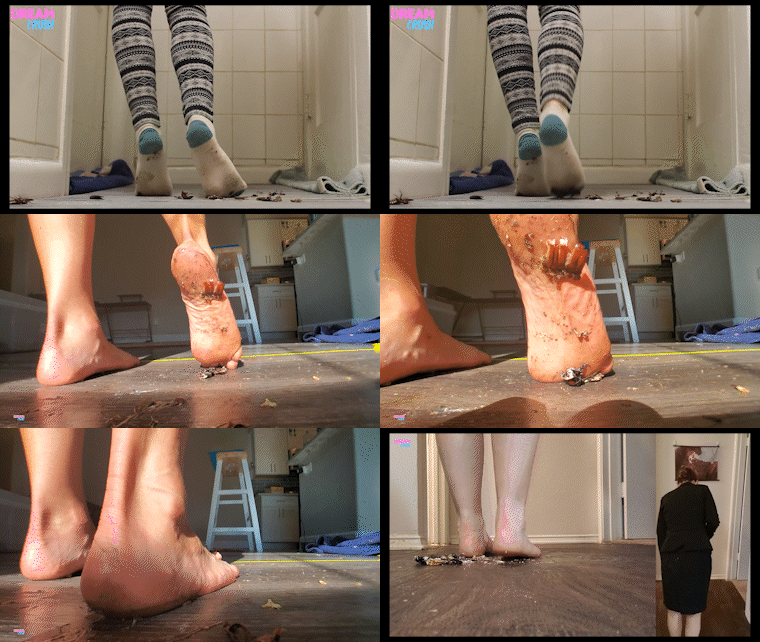
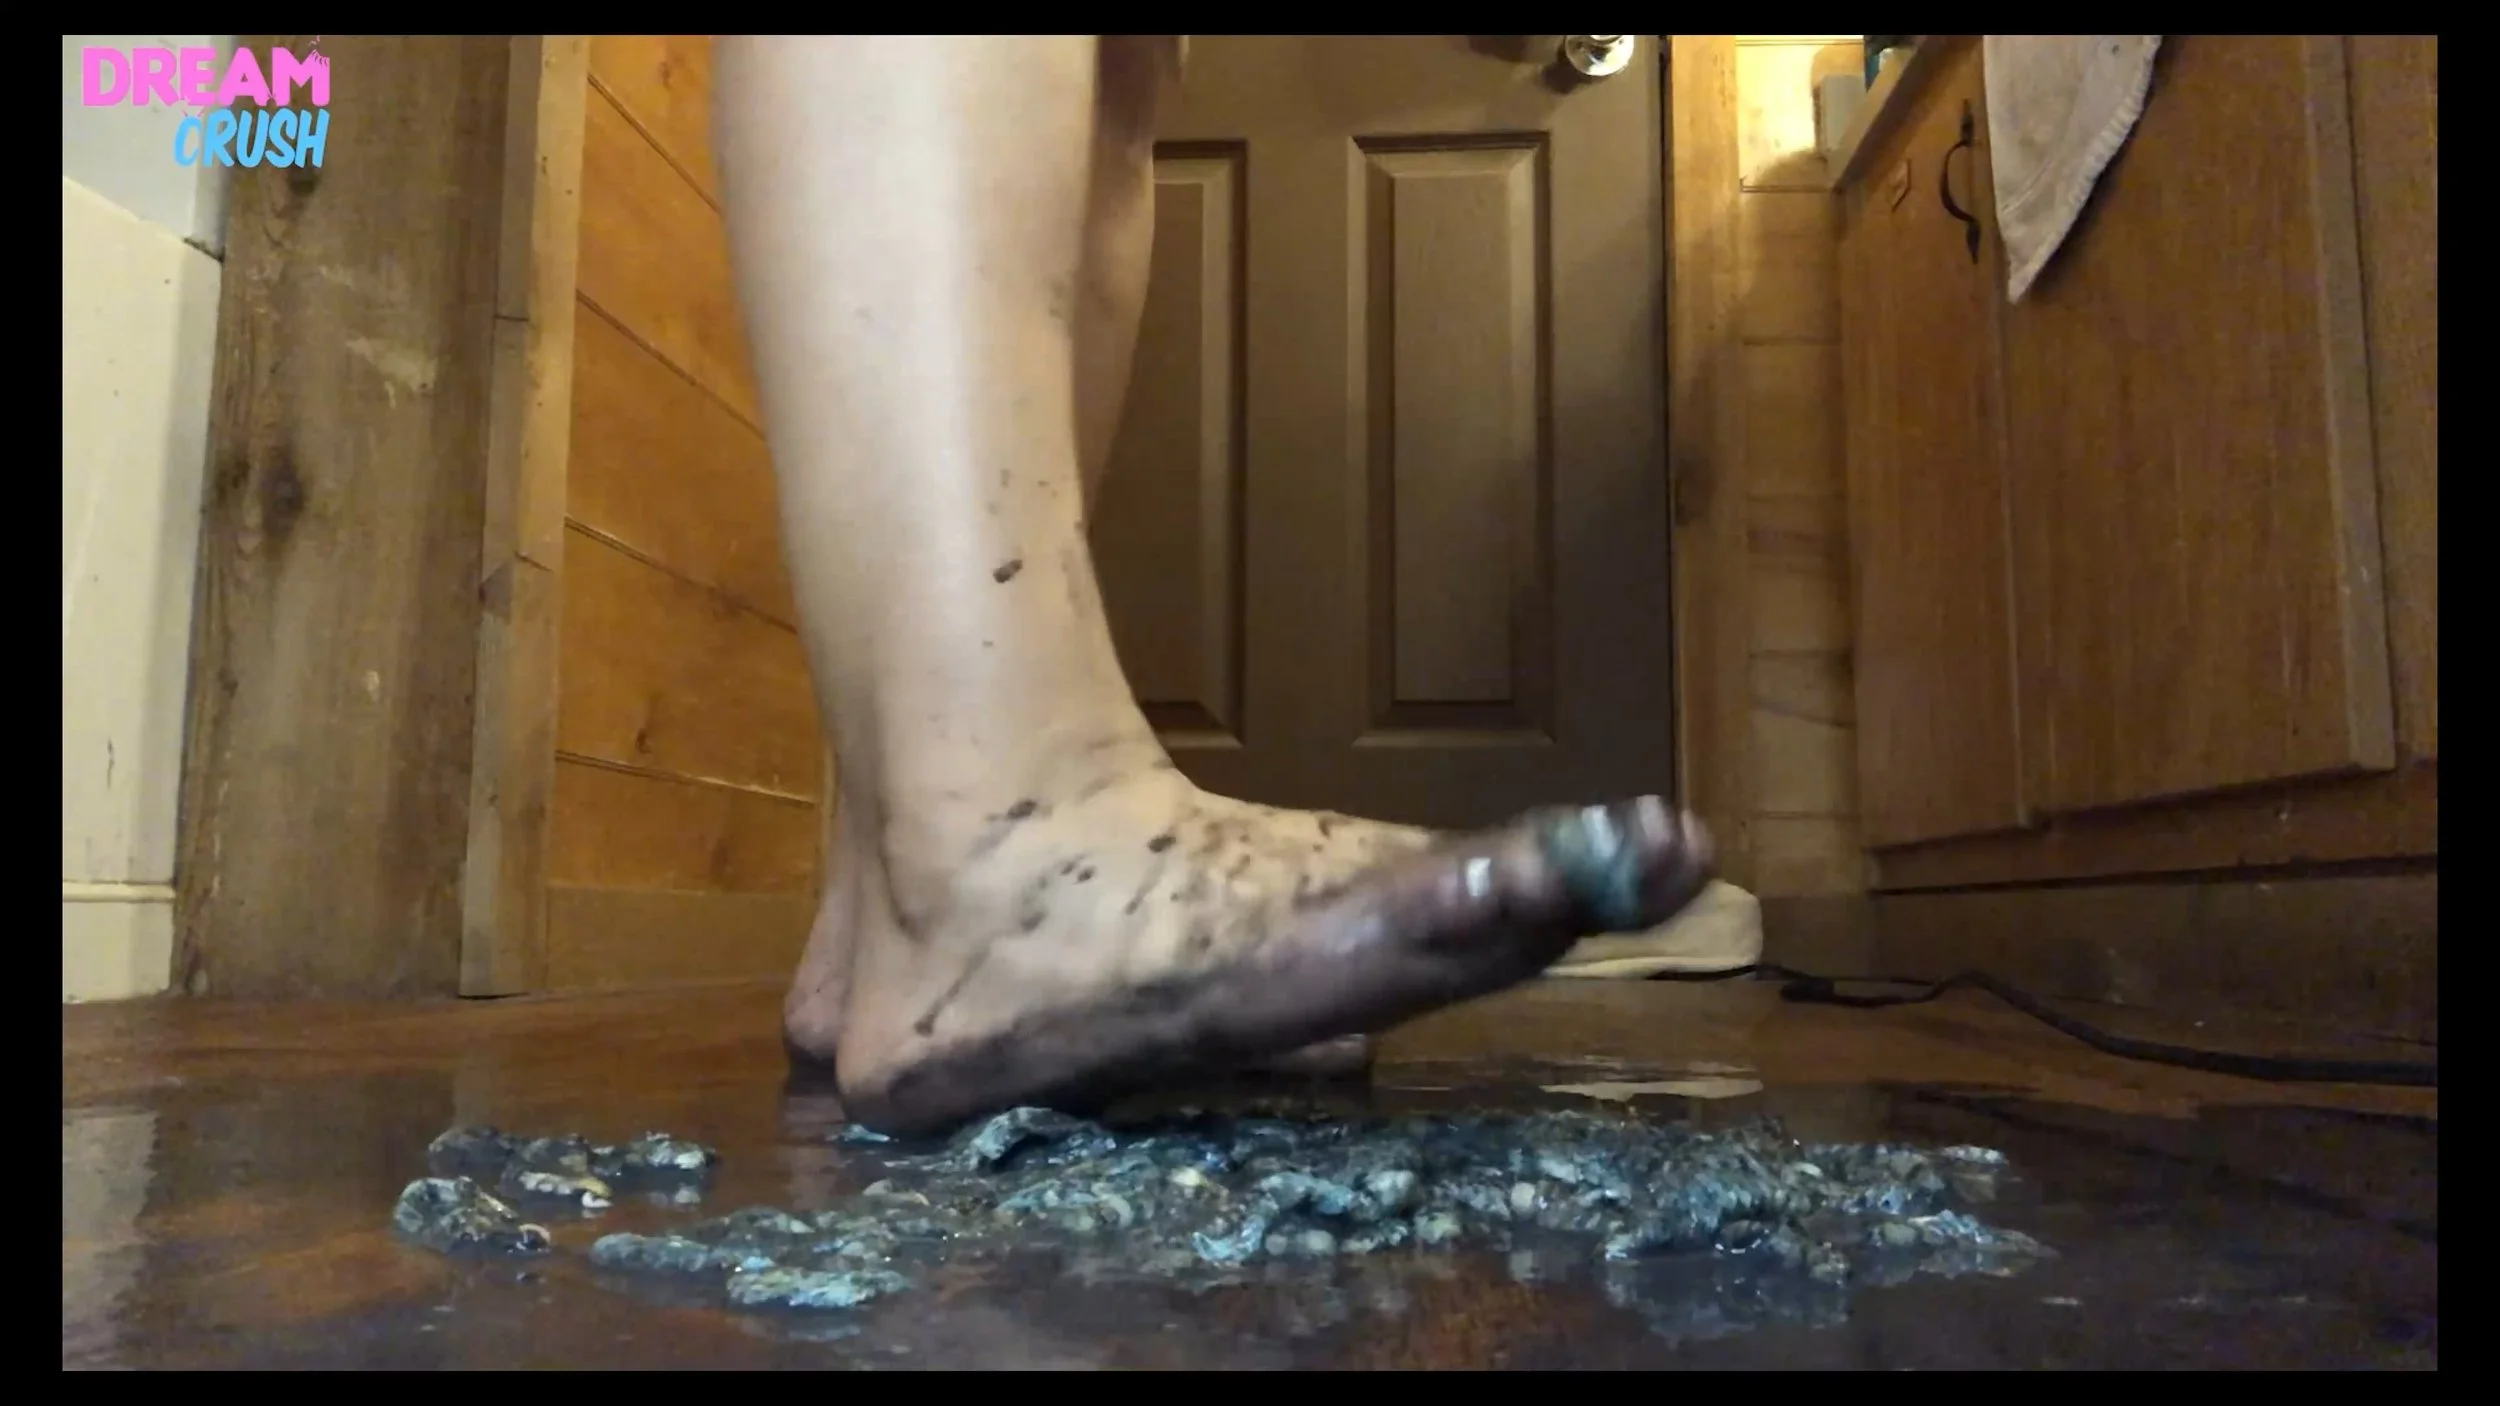
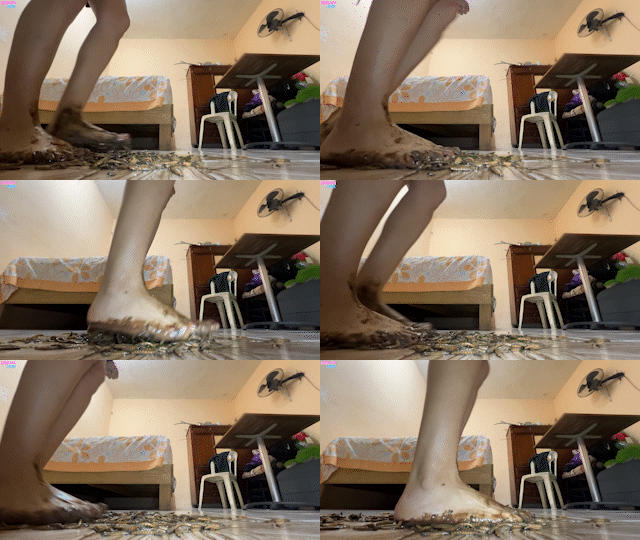
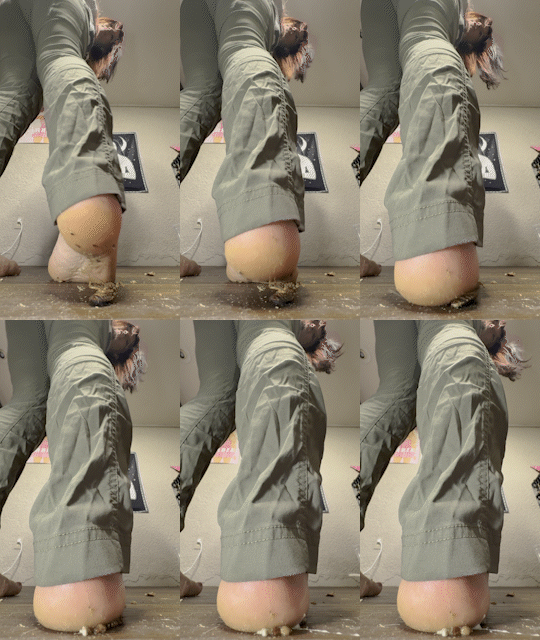
Anyone can step on a bug. You’ve seen it before and likely done it. A light tap or stomp on a small beetle or cricket and its dead.
That’s effective, but it doesn’t create anything worth watching..
Here, we elevate bug squishing into an aesthetic performance.
Often, you will be working not just with the bug itself, but with the aftermath; trampling the remains as part of the video.
This fetish derives from (and often leads to) multiple bi-lateral root fetishes:
Feet
Soft Female domination
Schema/Role Contradiction, i.e. Girls not being scared of bugs
ASMR
Semiotic/Affective Contradiction, i.e. pretty, well dressed woman with bug guts on her soles
Macrophilia (Giantess)
Your role with us is not to be a BDSM dominatrix or a raunchy sex idol. Your role is to be a regular everyday woman smashing insects with style.
Below, you will learn different techniques and poses that will be critical in making the difference between a candid 10 second video and an aesthetic bug crush video.
Pile Crush
A pile crush is exactly as it sounds. You march and trample the pile of dead bugs after you’ve squished them.
Pile crushing is done at the end of any video that’s being done barefoot or in socks.
Regardless of whether it’s specified in the instructions or not, you should always do it after all the bugs are dead if you have a sufficient amount.
A pile crush should be nonstop, completely or nearly without pauses, and relentless. It should last from around 30 seconds to a minute.
Sole Shots
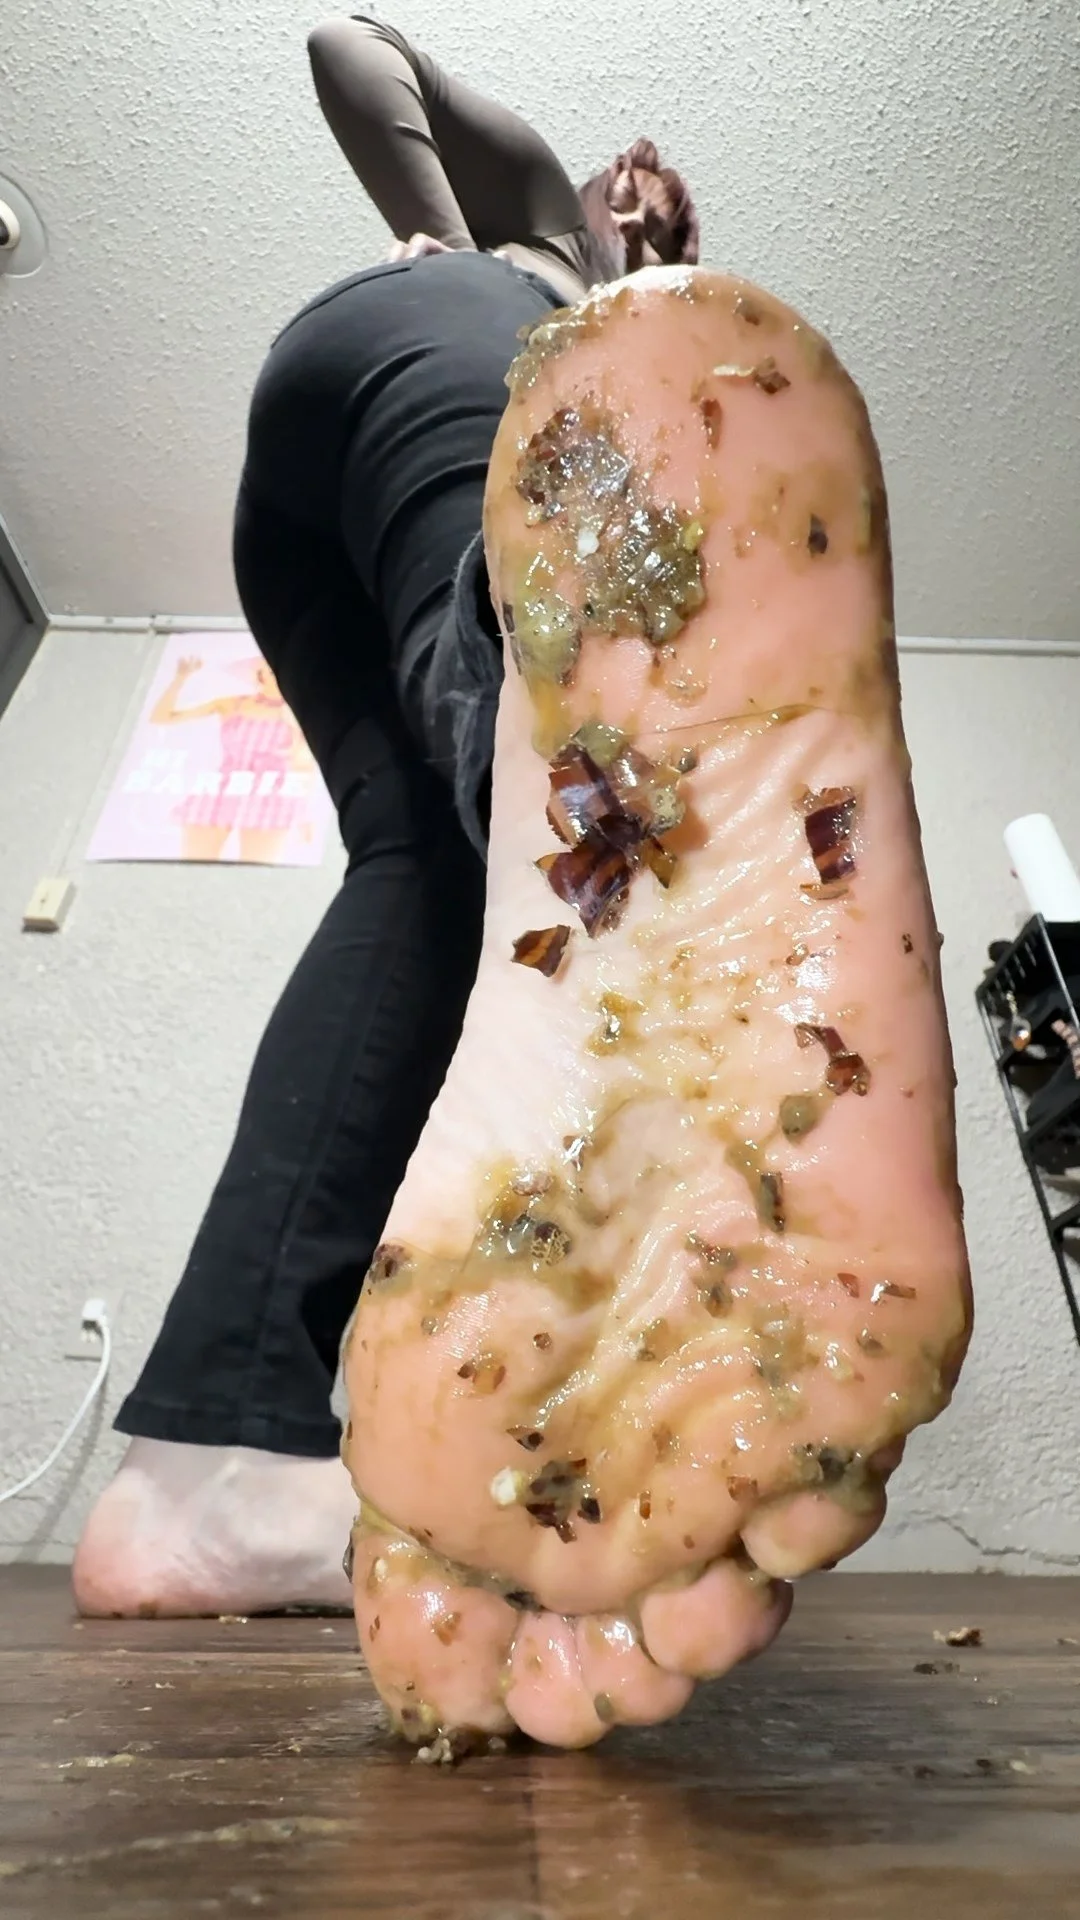
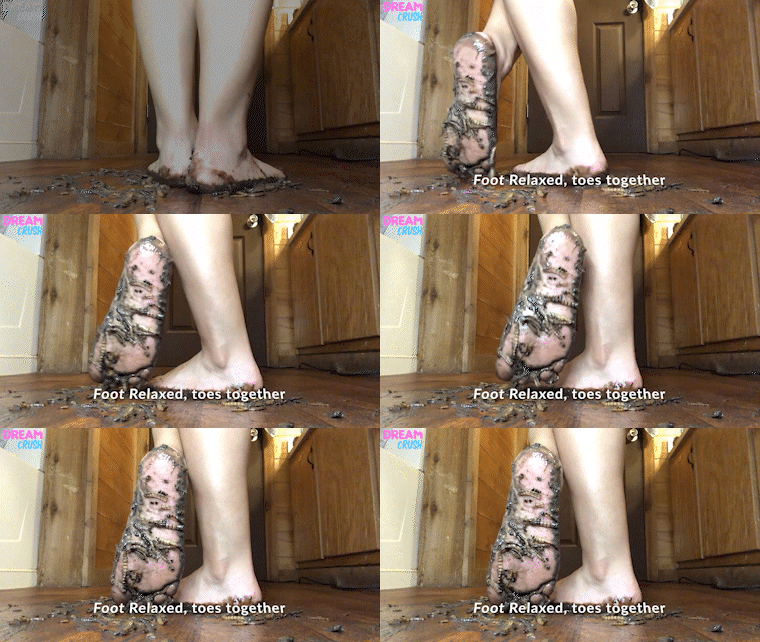
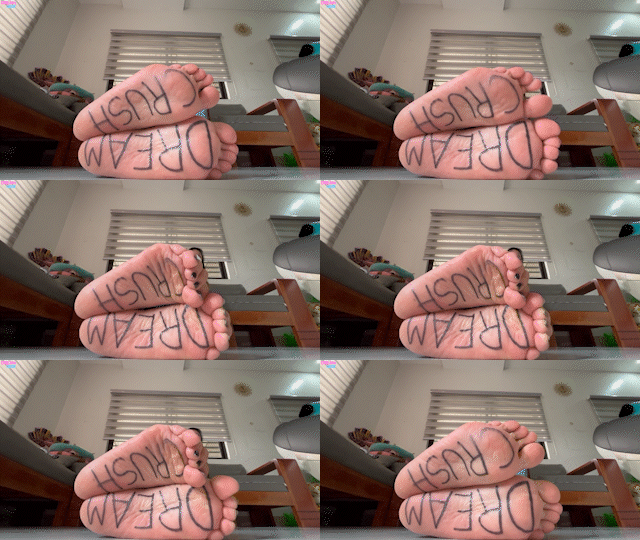
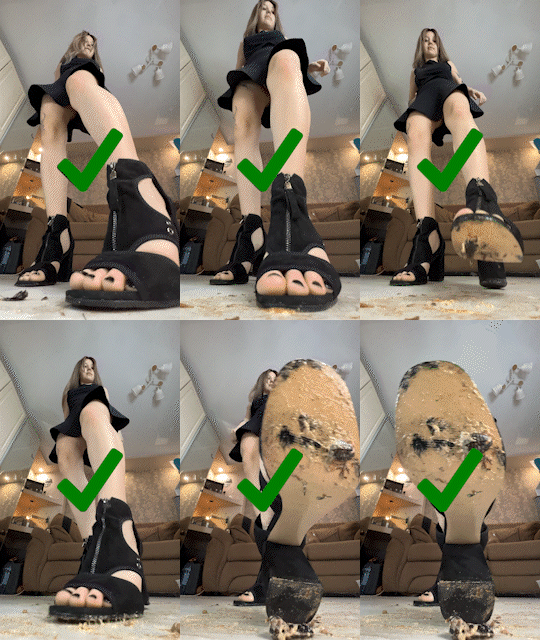
Whenever you see or feel that there are a good amount of bug guts on your soles, or that a bug is stuck to your soles, you should do a sole shot. A sole shot is a brief period of lifting up your foot to show the bottom of it to the camera.
When you do sole shots, make them last for about five seconds. Flashing
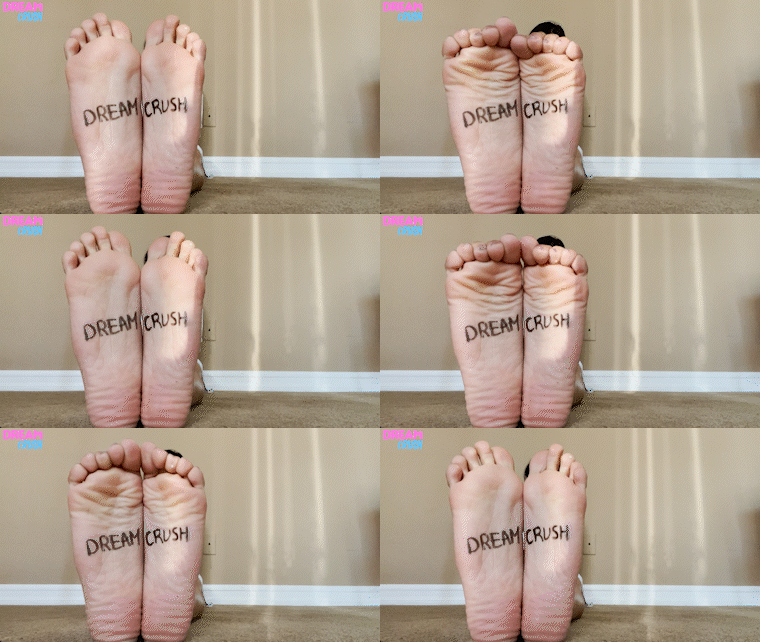
your soles for a split second barely gives anyone time to look.Make sure to ALWAYS keep your feet and toes relaxed while doing these. Don’t spread your toes or tilt your foot. It should be totally perpendicular to the camera just like the examples to the left and below
All of these sole displays can be done barefoot and with shoes on
EXAMPLES OF SOLE DISPLAYS ARE BELOW. YOU SHOULD MIX THESE UP RANDOMLY DURING EACH VIDEO
REGULAR
* Keep the tip of your foot on or close to the ground at an angle when you do these
BALANCE
* Only do these when using the foot that shows less toes to the camera
ANGLE LIFT
CROSS BALANCE
* Only do these when using the foot that shows less toes to the camera
LEANING
Sole Displays
When you sit down to show insect remains on your feet/shoes at the end, try to get as many insects stuck to your soles beforehand if possible. Do this after the crushing is done.
Showing soles is an extremely important part of the video so be sure to do it correctly!
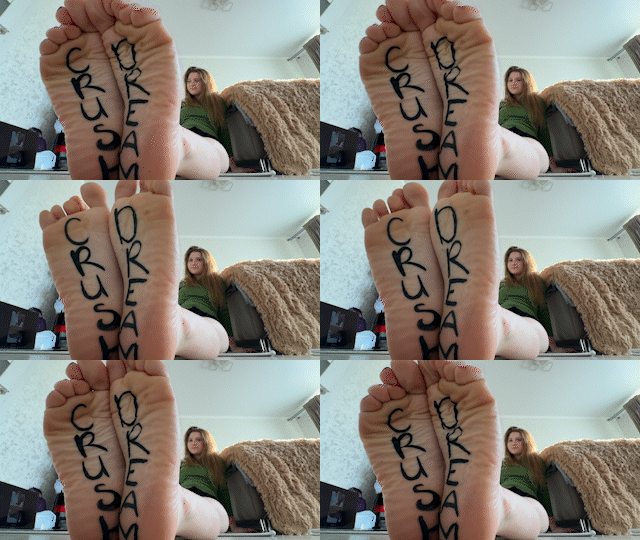
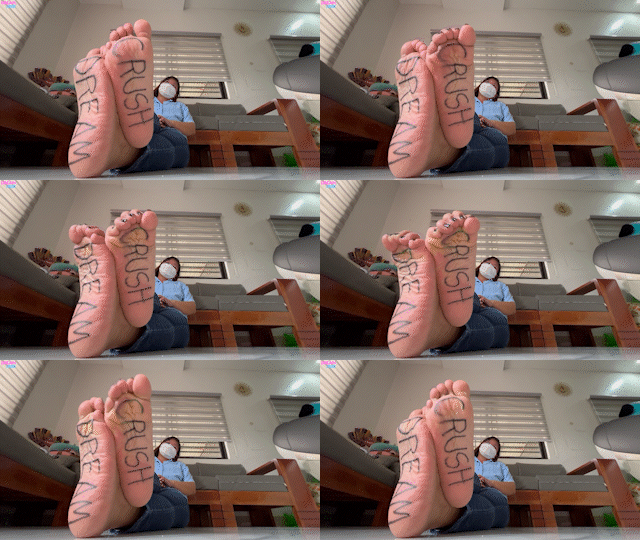
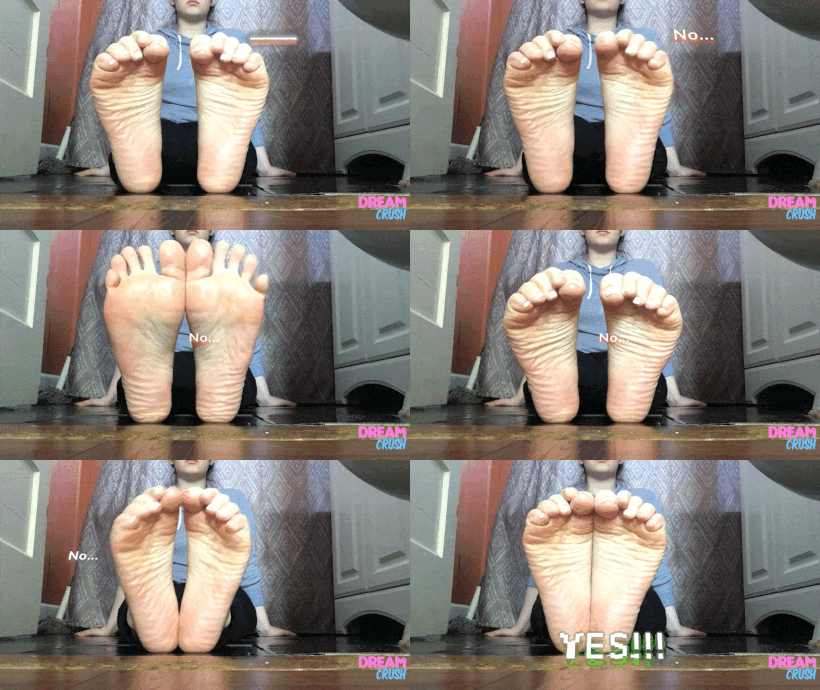
Feet must be 90 degrees relative to the camera
Toes must be together
Feet must be mashed together as close as possible
You should frequently switch between the positions listed below during any sole display
Standard
* Always default to this ~40% of the time for any video unless instructed otherwise
Standard [Offset]
V-Pose
Cross
Cross [Offset]
Split
Side View
Polar
[Not everyone is flexible enough to do this pose]
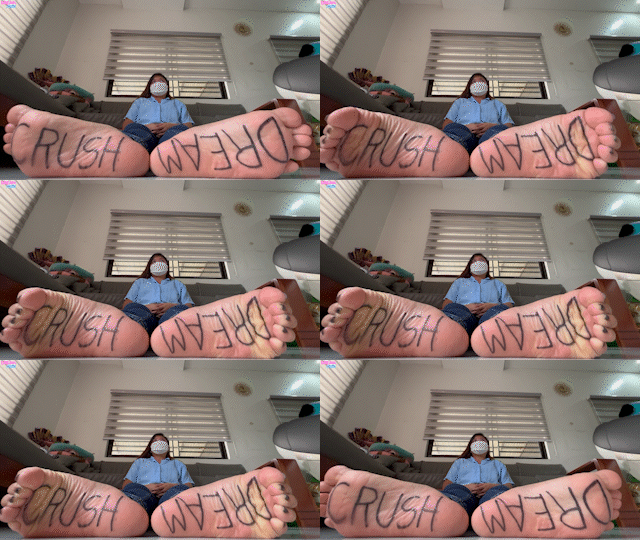
Do not space your feet apart!
Look below to avoid making this mistake
Techniques
There are a range of different techniques listed below. When to use them is up to you, so long as you follow the guidelines and instructions for each particular video
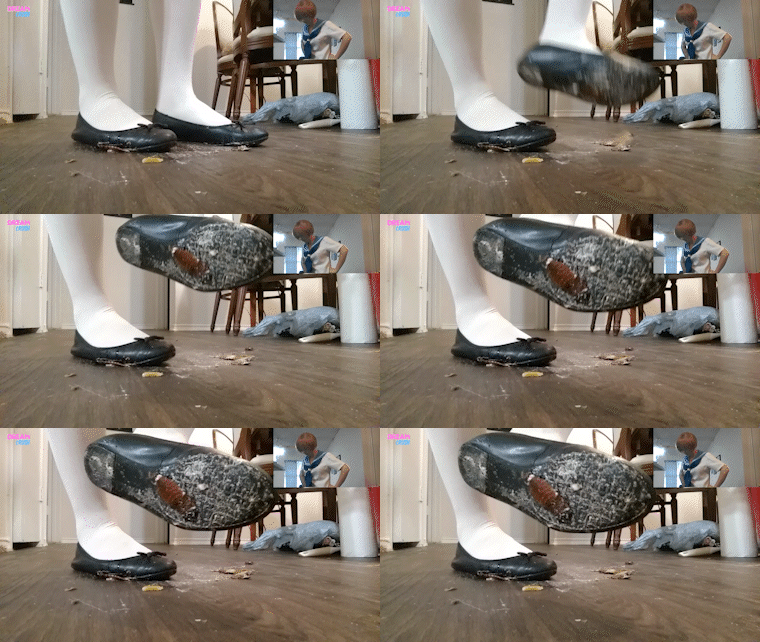
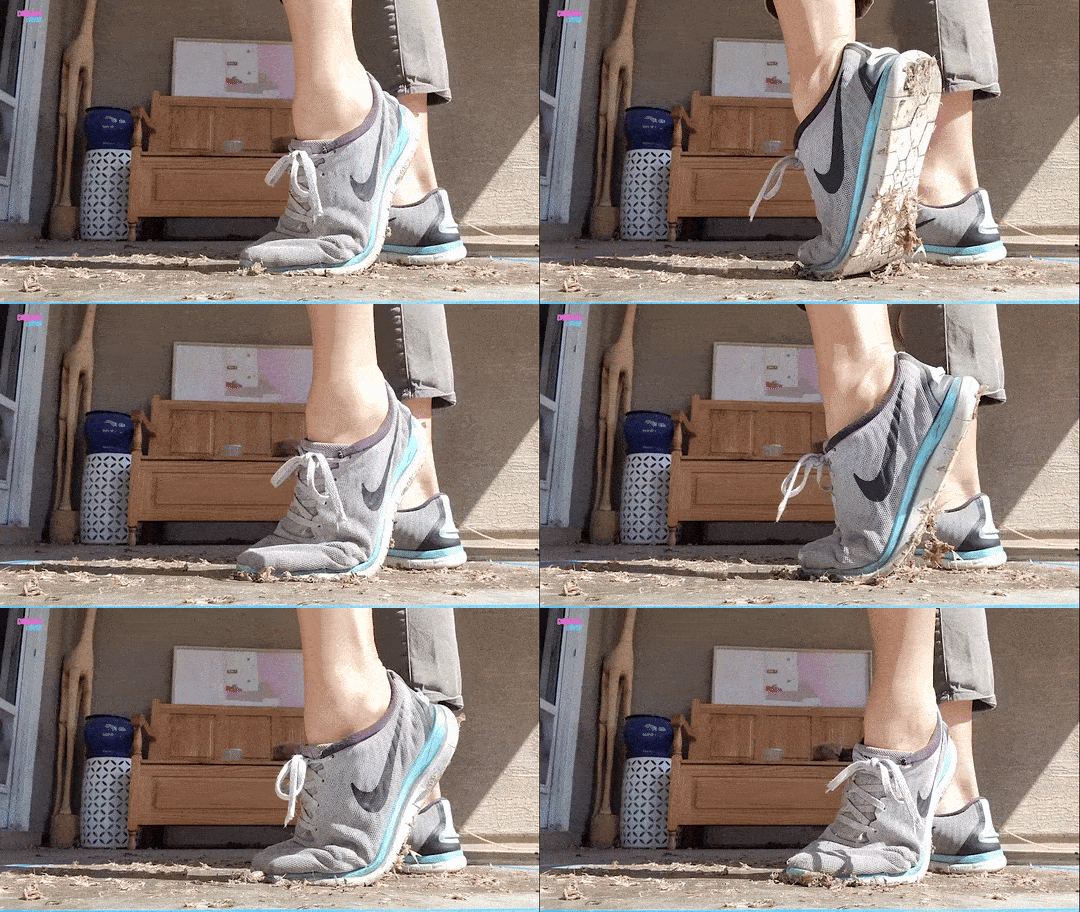
Only use the stomping methods when you have shoes on and even then only do it sparingly (i.e. occasionally)
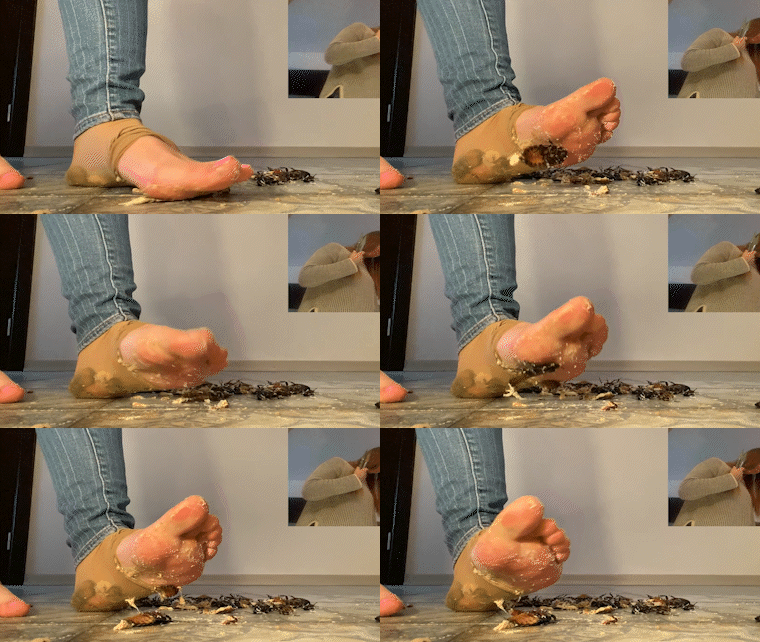
Normal Squish
* Always default to this ~40% of the time for any video unless instructed otherwise
Twist and Grind
Rip and Tear
Multi-Squish
Jumping
CLICK HERE if you can’t see what’s happening in the .gif clearly
Insta-Stomp
CLICK HERE if you can’t see what’s happening in the .gif clearly
Twofer
CLICK HERE if you can’t see what’s happening in the .gif clearly
Multi-Stomp
Trap Pop
CLICK HERE if you can’t see what’s happening in the .gif clearly
Reverse Lever / Reverse Fulcrum
Foot Slap [Click picture]
* Only use for worms and particularly gooey bugs
Overwhelm
Reverse Front
Reverse Rear or Reverse Heel
60/20/20 RULE
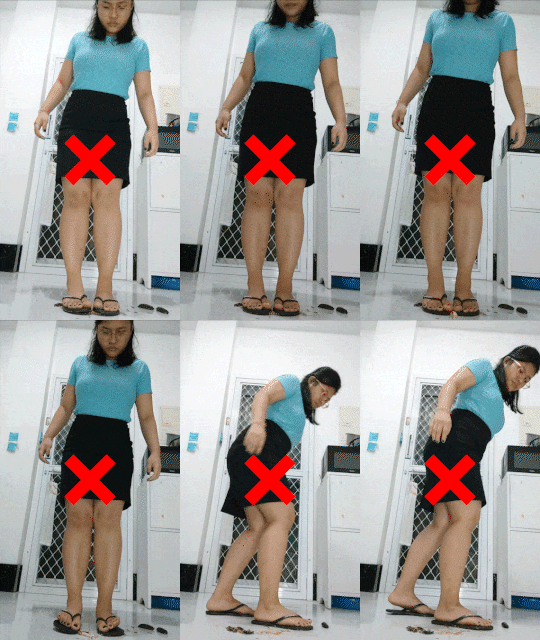
You MUST make sure to follow what we call the 60/20/20 RULE when crushing insects and/or fruit. You should be facing sideways relative to the camera 60% of the time
THINGS TO AVOID!
DO NOT…
hesitate when crushing the bugs unless you are intentionally teasing or stalling to get into position.
crush with the ball of your foot EVER!!! [CLICK HERE TO SEE THIS]
exclusively crush with your heel, this is to be done sparingly
exclusively stomp, this is to be done sparingly
press on the bugs lightly. You should be putting all your effort into smashing them. These sorts of videos are not good for timidity.
try to shake off the insects from your foot. Let them accumulate
pile crush as the video goes on. The pile crush should only be saved for the end of the video right before the sole display.
High Quality Video Examples
Below is for Remote Models Only!
〰️
Below is for Remote Models Only! 〰️
Filming Tips
TIME
Always err on the side of too long rather than too short. You can fill unused time by kicking the bugs around during the video before you step on them. Use a stopwatch or timer to time yourself.
Environment
Indoors or a covered outside surface such as a patio are preferred. Do not cover the floor with any materials! Smooth low friction surfaces such as tile flooring are ideal. If you can’t rub your hand on it for a a few seconds without chaffing your skin then it probably isn’t a good choice.
Dumping
Roaches should be deployed in groups of one to three at a time. Superworms and other massed insects should be dispensed in small handfuls at a time.
“How the heck do I film this?”
Watch video below
Vertical Placement
Vertical camera placement is an alternate mode of filming that will be assigned for use in some videos.
This will allow you to fit your entire body on camera while giving an immersive ‘giantess’ feel to the video, showing more detail, and bringing the viewer close to the action.
Simply follow the instructions in the video above, but instead of placing it horizontally, place your phone vertically with the camera side closest to the ground.
Aim for this. The camera is flush with the floor.
This is incorrect. The camera is high above the floor. Avoid this.
Saving Your Results
When you finally get the correct perspective, measure the distance (in cm) from the box to the phone’s camera. Now, no matter where you film you will always know how much tilt is required for the view to be flush with the floor!
Sunlight Works Best
You want to use natural light in your videos as much as possible, so if you are near a window with sunlight please use it whenever possible.
The sunlight or other light source should always come from BEHIND the camera.
This is guaranteed to eliminate shadows and ensure good results.
Always wear a fresh coat of nail polish before each shoot.
You should go into your Android/iphone settings and change all the cameras to the 1080p resolution (4K if you have good internet speed).
Set camera to 60 FPS
Don’t forget to change the camera aperture to ‘0.5x’ (this is explained in the video above)
That’s it! Thanks for reading.
-Zack


